
Well the long awaited tutorial …. it’s a Double Twisted Easel Card.
You will have to scroll down further to see the tutorial …. Click on card to see larger image.
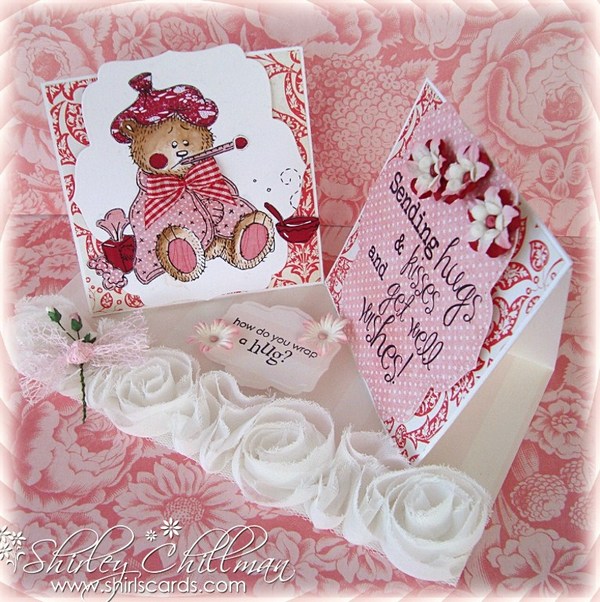
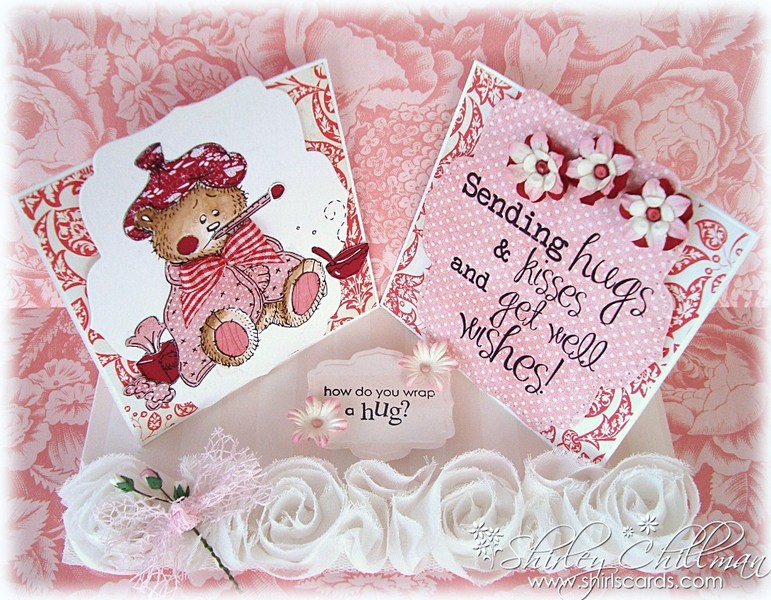
The double twisted easel card lends itself perfectly for a sentiment and an image …. not sure about you but I struggle sometimes about where to put the sentiment.
Sentimental Sundays has opted for a colour challenge this week, they want to see pink, red and white on your projects. Our sponsor this week is Maljen’s Designs and I chose to make a Get Well Soon card because I fell in love with the Sick Little Bear image which you can find here isn’t he the cutest.
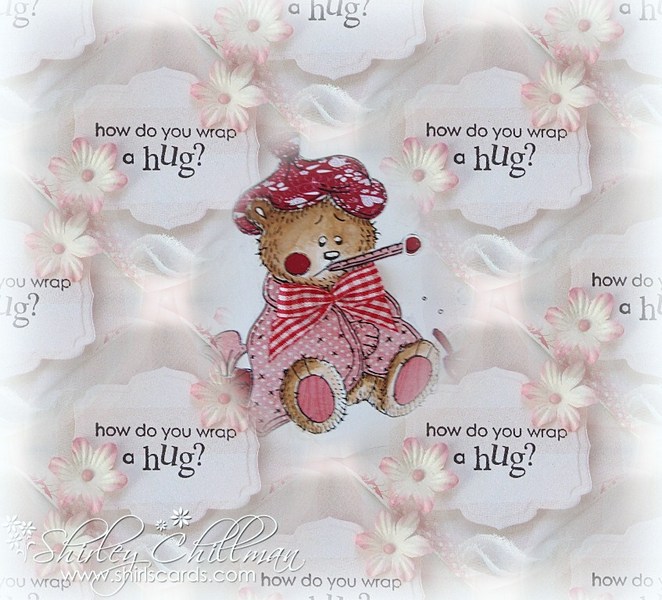
Have done a little bit of colouring and paper piecing on the image, two sentiments on the card one stamped (my favourite Penny Black) and the other an adorable sentiment from Raindrop Echo Designs and OMG going off the subject a bit here but Ann V has designed the most delish Postage Stamps Sentiments you have ever seen …. I WANT THEM …. I NEED THEM …. sorry bit carried away but I do oh so want them as you can tell …. anyway you can find the stamps here. Don’t forget to check out what you can win when you enter and have a look at all the DT girls inspiration this week it is awe inspiring.
Entering for : Allsorts Challenge -It’s all about the sentiment
🙄 😀 😆
Any problems with the tutorial please let me know and I will try and help …. also I would love if you left a link on your blog to this tutorial.
When finished the card fits into a DL envelope perfectly.
(Please click on the picture for a larger view)
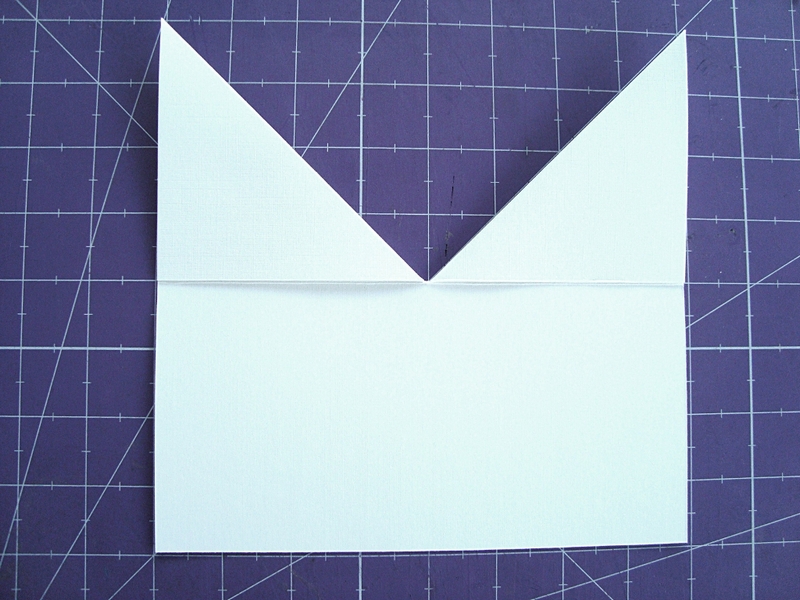
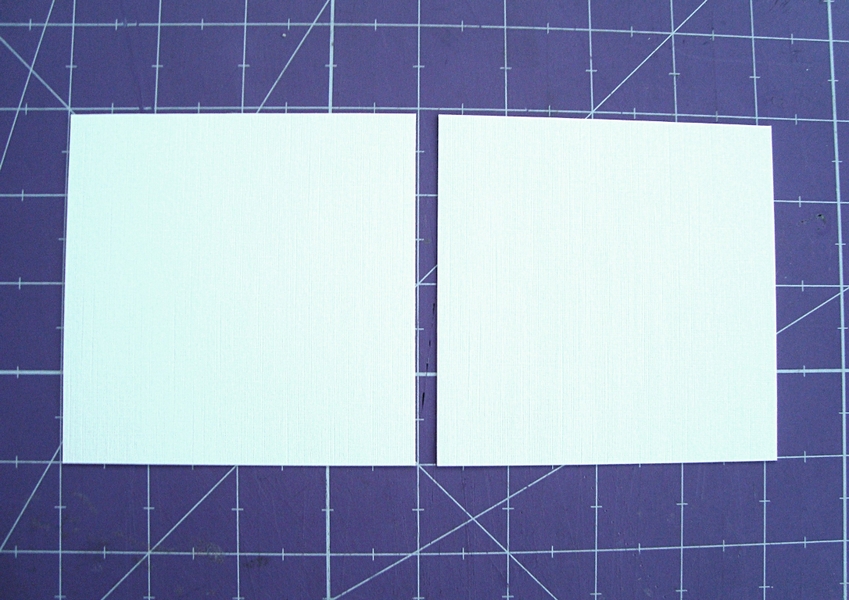
Steps 1 and 2
Cut a 20 x 20 cm square card and score at 10cm (the middle)
Turn the cardstock 90 degrees and score at 10cm mark but only score half way (to the other score line)
Cut a tiny slither out of the card (about 2 mm) as shown in the diagram
Score diagonally from the outside corner in towards the middle as shown in the diagram for both sides
Please check the diagram to make sure your diagonal scores are correct


Step 3 and 4
Fold over both the diagonal scores as shown and really crease with a bone folder (what I use is a little rubber roller)
They should both look like the second diagram

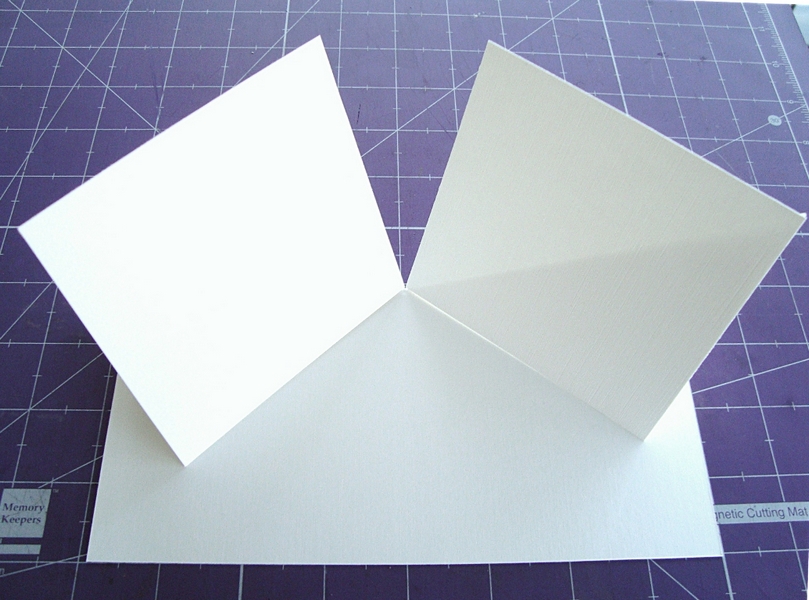
Steps 5 and 6
Turn the card over and lay flat again, adhere tape to the triangle sides as shown in the diagram
Turn card over to the right side, fold in half and raise up triangles as shown in second picture


Steps 7 and 8
Cut two pieces of cardstock 10 x 10 cm
and attach to the triangle pieces as shown
Wahoo if all goes well you should end up making a beautiful card …. I would oh so love to see the cards you make so please leave a comment because I will pop on over and have a look.
I thought you might like to see my table before I started I always throw things into the pot before I decide what I am going to use, would love to know how you work.


Wow Shirl, this is the most stunning card, and your tutorial is one of the best I have seen with such clear written instructions and beautifully clear photos, hope to see many more tutorials in the future. Hugs & kisses. xx
Fab. tutorial Shirl, and a gorgeous card. Thanks so much for sharing all the details. I’ve just popped over to look at Ann’s postage stamps, and I can understand why you just HAVE to buy them !!
Have a happy Sunday – x Sylvia x
Fabulous card Sirley, just love the design, colours and embellishments.
Thankyou for an amazing tutorial, easy to follow and very clear. Well done.
Have a good day. Hope you have better weather than our wet and soggy Sunday.
luv and hugs {brenda} xoxox
This is absolutely stunning Shirley & your tutorial is fabulous thank you 🙂 Hope you are having a great weekend & have a wonderful week.
Hugs
Tracey
xxx
Shirl: – Thanks so much for this tutorial. Your instructions and photos are super easy to follow and your card is fabulous.
Hugs,
Sharon
WOOOOOOOOOOOOOOOOOOW this is so beautiful Shirl i love it and thankyou for the great tutorial guess what card i am making tomorrow lol thanks so much your card is so beauitiful xx
Wow beautiful work Shirley! Stunning card and a brilliant tutorial too. I’ll definitely be having a go at making one, it will be perfect for an idea I’ve had for my son’s 21st card (oh dear I feel old lol)
Off to have a look at the postage stamps now
TFS
Claire cc
I cannot wait to try this card out…..fabulous tutorial;. Thank you so much for sharing it with me.
Love
Carrie
http://carrieoncrafting.blogspot.com
Wow – I have never seen an easel card like this. Fabulous design! I just love this little bear and he looks perfect on your card.
This is stunning, love the design and thanks so much for the tutorial to it, this is definately going on to my list of ‘tutorials to try’! I love the image you used too, that little bear is adorable! Thanks for your sweet comment on my blog too 🙂
So beautiful! Love the bear image, the card design, and everything about it! Thank you sharing the tutorial! I must try one of these!
Glenda
http://glendascards.blogspot.com/
This is beautiful! Love the little bear image, card design, and everything about it! Thanks for sharing the tutorial. I would love to try this style card!
Glenda
http://glendascards.blogspot.com/
IHi Shirl Ur tutorial for the dounle easle was great and very easy to follow. Thanks again. Patricia
Hi Shirl! Such a gorgeous card! I love the design! Thanks for sharing the tutorial. I saw your beautiful card on My Sheri Crafts! Thanks for being Guest Designer there and sharing your amazing talent with us! I will love trying this card style!
Glenda
http://glendascards.blogspot.com
Wow, Shirl what a sweet project. Thanks for the tutorial.
Such a wonderful card and instructions are fantastic, I am looking forward to having a go at this now. Thanks 🙂
Lovely card! 🙂 Love the colors, image and embellishments.
Have a nice day.